| .. | ||
| keymaps | ||
| config.h | ||
| info.json | ||
| readme.md | ||
| rules.mk | ||
| xd002.c | ||
| xd002.h | ||
xd002
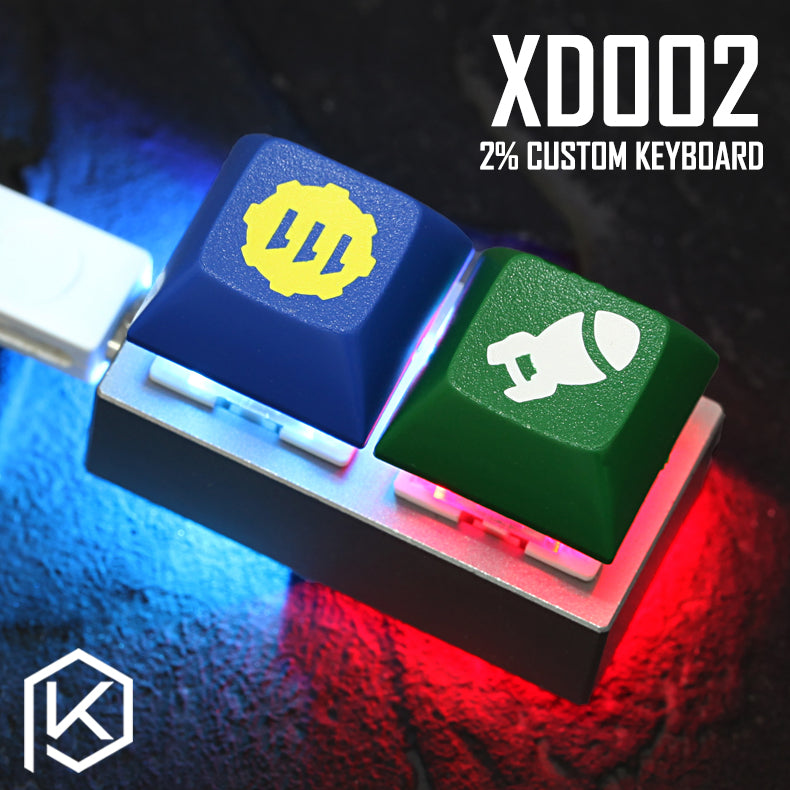
2% Custom mechanical keyboard. ATtiny85 powered, with 2*WS2812 LEDs, and the micronucleus bootloader.
Note: Due to limited firmware space, a lot of features have to be disabled to get a functioning QMK based keyboard.
- Keyboard Maintainer: zvecr
- Hardware Supported: xd002
- Hardware Availability: kprepublic
Make example for this keyboard (after setting up your build environment):
make xd002:default
See the build environment setup and the make instructions for more information. Brand new to QMK? Start with our Complete Newbs Guide.
Flashing
Prerequisites
git clone https://github.com/micronucleus/micronucleus.git
cd micronucleus/commandline/
sudo make install
On Linux, you’ll need proper privileges to access the MCU. You can either use sudo when flashing firmware, or place these files in /etc/udev/rules.d/. Once added run the following:
sudo udevadm control --reload-rules
sudo udevadm trigger
Instructions
Reset Key: Hold down key nearest to the USB socket while plugging in the keyboard.
make xd002:default:flash

# or directly with...
micronucleus --run <firmware.hex>